Hot Chocolate


{This post was originally published on February 1, 2011 on Cooking for Seven. This is a mighty fine cup of chocolate, my friends.}


Homemade Hot Chocolate | Buttered Side Up

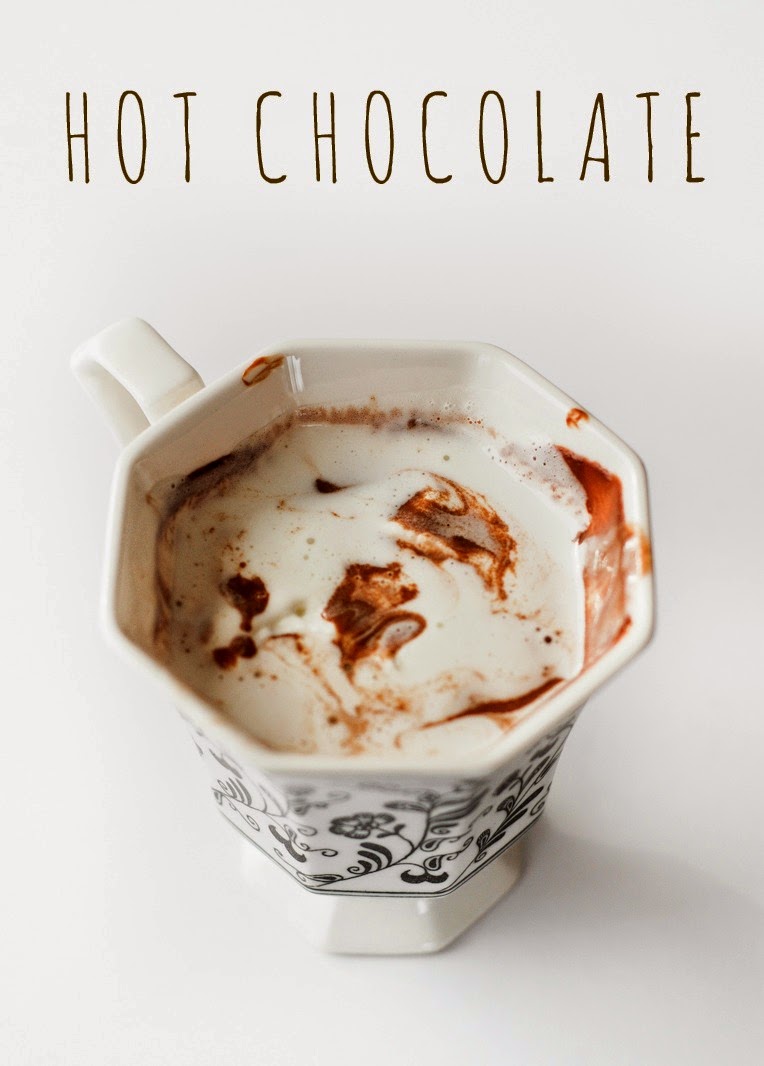
Yesterday, I had a completely new experience: homemade hot chocolate. Not the kind made with cocoa powder and sugar. No. The Kind made with REAL chocolate.
Oh my. It was like drinking chocolate pudding; it was so rich I couldn’t finish it in one sitting!


Homemade Hot Chocolate | Buttered Side Up

Notes: I used maple syrup for the added sweetener and bittersweet chocolate chips for the chocolate. I also added a bit of cream to the milk. Perhaps next time I will use only milk as it was so rich.


Homemade Hot Chocolate

A decadent, dessert quality drink.

Adapted from Elise Bauer | Printable Page

Serves 4

Ingredients:
For the Hot Chocolate:
3 1/2 cups whole milk,
1/2 cup heavy cream,
8 ounces chocolate, preferably dark,
3 tablespoons maple syrup or natural sweetener of choice,
1 teaspoon pure vanilla extract.
1/8 teaspoon salt,
For the Maple Whipped Cream:
1/2 cup heavy whipping cream,
2 teaspoons pure maple syrup (more if you like a sweeter whipped cream),
1/4 teaspoon pure vanilla extract

Instructions:

For the Hot Chocolate:
1) Chop the chocolate very finely.
2) In a medium saucepan, bring the milk and cream to a low simmer over medium heat, whisking occasionally.
3) Add the chocolate, maple syrup, vanilla, and salt. Whisk vigorously until all of the chocolate has melted. Cook for an additional 4 minutes, whisking constantly.
4) Serve with maple whipped cream (recipe follows) if desired.

For the Maple Whipped Cream:
Place all ingredients in a large bowl and beat until stiff.


Homemade Hot Chocolate | Buttered Side Up

Philly Cheese Steak Pizza | With Fleischmann's Pizza Crust Yeast


Philly Cheese Steak Pizza | Buttered Side UpPhilly Cheese Steak Pizza | Buttered Side UpPhilly Cheese Steak Pizza | Buttered Side UpPhilly Cheese Steak Pizza | Buttered Side UpPhilly Cheese Steak Pizza | Buttered Side Up

Pizza has long been a favorite thing for me to make at home. It's grand to be able to enjoy such a delicious treat without the guilt of eating highly processed ingredients. It's fun to come up with different flavor combinations.

But homemade pizza is a lot of work; and it can be quite time consuming.

Some of that time can be shaved off by not having to wait for your pizza crust to rise for an hour. With Fleischmann's Pizza Crust Yeast, all you need to do is mix up the dough and shape it. It's ready to bake right away. If you have a few ingredients prepped beforehand, homemade pizza can actually be a feasible weeknight meal!


HERE ARE A FEW TIPS FOR A SPEEDY PIZZA:

  • When you make the sauce for your pizza, make a double batch and refrigerate or freeze half for next time.
  • If you have a weekly prep day, wash and cut all the veggies for your pizza. Cook the meat. Shred the cheese.
  • Use a rapid-rise yeast for those days when you have NO time to wait for the dough to rise.


My one disappointment with this yeast was the number of ingredients. I know they need to add those items to facilitate the quick rise time, but I'm a bit sad to use ingredients that I can't pronounce. However, if it's a choice between takeout and homemade pizza, it's pretty obvious which one will be more healthy. So I don't really bad guilty about using this yeast.

This year, I'd like to try to have a monthly pizza night. Fleischmann's yeast will make it quite doable. And I'm sure Reuben will be thrilled to know that he's ensured homemade pizza at least once a month.

When I asked Reuben what pizza I should make for you guys, he suggested a Philly Cheese Steak Pizza. This man is a genius. And this pizza was delicious. One of the best I've ever made. It was excellent cold as well.


RECIPE NOTES:
I like my pizza crust a bit sweet, so I added some extra sugar to the dough. It helped to balance out all the savory flavors.
If you prefer a crispy crust, I suggest lowering the oven temperature to about 400 - 425 F and increasing the baking time.
This recipe may look long, but all that's required is sauteing the veggies, cooking the meat, making a cheese sauce, and mixing up the dough. Don't get overwhelmed! 
You can ask your butcher to slice your steak very thin if you can't find any already packaged up for you.


PHILLY CHEESE STEAK PIZZA RECIPE
Makes one large (12-13") pizza
Printable Page

Ingredients:

For the cheese sauce:
  • 2 tablespoons butter
  • 2 tablespoons organic all purpose flour
  • 1/2 cup whole milk
  • 1/4 cup shredded provolone cheese
  • 1 tablespoons Parmesan cheese
  • 1/8 teaspoon salt
  • pinch of fresh ground black pepper

For the toppings:
  • 4 1/2 tablespoons butter, divided 
  • 1/2 sweet onion, finely chopped
  • 1/2 green bell pepper, sliced thin
  • 1/2 red bell pepper, sliced thin
  • 4 oz Portobello mushrooms, sliced thin
  • 8 oz. top sirloin steak, sliced thin
  • salt and pepper to taste
  • 1 1/4 cups shredded provolone cheese

For the dough:
  • 1 3/4 - 2 1/4 cups organic all purpose flour
  • 2 tablespoons pure cane sugar
  • 3/4 teaspoon salt
  • 2/3 cup very warm water (120 to 130 degrees F)
  • 3 tablespoons extra virgin olive oil

Directions:

For the toppings:
   In a large cast iron skillet set over medium-low heat, melt 1/2 tablespoon butter. Add the onion, season with salt and pepper and cook, stirring often, until soft and golden, about 20 minutes. Remove to a bowl and set aside.
   In the now-empty skillet, melt 2 tablespoons butter over medium-low heat. Add the peppers and mushrooms, season with salt and pepper, and cook until tender. Remove to a bowl and set aside.
   Turn the heat up to high. Add 2 more tablespoons of butter to the empty skillet. Once the butter is melted, add the slices of steak. Season with salt and pepper. Cook for only about 45-60 seconds per side. Remove to plate. Once the steak is cooled, cut it into small, bite-sized pieces.
For the cheese sauce:
   In a small saucepan over medium-low heat, melt the butter. Whisk in the flour; cook for 1-2 minutes or until bubbly and smooth. Slowly whisk in the milk and cook, stirring constantly, until thick and bubbly, about 2-4 minutes.
   Remove from heat and vigorously stir in the cheeses and salt & pepper. The sauce will be very thick. Taste and adjust seasonings if needed. Set aside.
For the dough:
   Preheat your oven to 450 degrees F. Once the oven is hot, place a pizza stone in the oven to preheat while you're making your pizza.
   In a large mixing bowl, whisk together the flour, yeast, sugar and salt. Add the warm water and oil. Mix together until well combined, about a minute. Gradually add 1/2 cup flour until the dough forms a ball. Add more flour if needed.
   Dump the dough out onto a floured surface (dough will be somewhat sticky). Knead until the dough is smooth and elastic, about 4 minutes. Add additional flour as needed.
To assemble:
   Roll the dough out to a 12-13" circle on parchment paper. Spread the cheese sauce all over the dough. Top with the veggies and meat. Sprinkle the cheese on top.
   Transfer pizza to preheated stone and bake for about 10 minutes, or until the crust is nicely browned and the cheese is melted.

Cheese sauce recipe adapted from Bobby Flay and Betty Crocker. The toppings were inspired by Bobby Flay. Dough recipe adapted from Fleischmann's Yeast.


This post was sponsored by Fleischmann's Yeast. All opinions and words are my own.


Phone Friday:


Wooden spoons.
Reuben's sister, Amanda, gave me these lovely wooden spoons for Christmas. They are going to make excellent food props.


Hand embroidered tea towels.
Look at the lovey tea towels that Reuben's other sister, Bree, made for me. The embroidery is impeccable.


Dried figs.
Dried figs are nice. I'll tell you what I made with them in an upcoming post...


Fancy.
Helen likes to wear my pink-and-green Christmas socks. With pink heels, of course.


Winter Sunrise
Winter can be so bleak, but the sunrises are glorious.


Birthday!
Last Saturday was my birthday! I turned 25. I still feel like a kid. We ate mac and cheese with bacon for lunch and had ice cream for dessert. It was a good day.


Birthday Bowl
Reuben bought me this bowl for my birthday. I love it to pieces. He knows me well.


Cheerios
I get ridiculously excited about cheerios (these are actually Cascadian Farms' version of cheerios).


Snack
Emergency snack: a spoonful of peanut butter with (dark) chocolate chips poked in. A glass of cold milk is not optional.


Carbonara
Carbonara. It's a glorious thing. And so quick and easy. I've used Pioneer Woman's recipe before, but now I just wing it.


How are y'all surviving the winter? Any tips to keep from pining for spring?


Homemade Frappuccino Recipe


This post was originally published on February 16, 2012 on Cooking for Seven.  A reader recently requested this recipe, so I thought I should share it here on Buttered Side Up!

001
Skiing is my favorite winter sport. Feeling the snow swish beneath my feet as I slide down the “mountain” (in Minnesota, the closest things we have to mountains are very large hills).
It’s always fun to plan out our lunches for skiing, trying to come up with something special and delicious. A few weeks ago, I decided that Frappuccinos would be a lovely treat. Creamy coffee drinks are my favorite.
Thus I purchased a pack of bottled Frappuccions. The words “low-fat” on the bottle disturbed me a bit, but I was sure they would be yummy anyhow. Alas, not so. We found them to be overly sweet and thin.  We dumped in some cream and they were improved immensely. But I was sure I could make something better myself.

002
Sure enough, I was able to produce something rich and creamy with much better flavor and less sweetener. That’s the beauty of making it yourself – you can customize it to your own personal tastes!
Here is my method for making your own creamy bottled frappiccino drink at home. Don’t think of it as a recipe as it’s meant to be highly customizable. I like my coffee fairly strong, so keep that in mind.

Homemade Frappiccinos Recipe 
Printable Page | Makes 1 serving
Ingredients:
  • 1/2 cup espresso or strongly brewed coffee
  • 1/4 cup + 2 tablespoons whole milk (none of this low-fat stuff)
  • 1/4 cup heavy cream (oh yeah)
  • 1 tablespoon + 2 teaspoons pure maple syrup (more to taste)
  • 1/4 teaspoon pure vanilla extract
Method:
Brew your espresso or coffee and place in the refrigerator until cold, about an hour or so. Add the remaining ingredients and stir or shake well (if using a bottle). Taste and adjust the ratio of milk, syrup, etc. Keep going until you love it. Enjoy!
This should keep in the refrigerator for a few days. I haven’t experimented with keeping it longer!

PS: This was the fourth photo I posted on Instagram. I liked it so much I included it in my blog post. :)


Note: some links are affiliate. All opinions are my own.

Orange Scones


Orange Scones - Buttered Side Up


Whenever I think of scones, I have a preconceived notion that they're dry and tasteless. I'm not sure where I got this impression, but I tend to think of scones as anticipation wrapped in disappointment.

These scones are none of the above. They're tender, moist, and have a lovely citrus flavor.

Plus, they come together fairly quickly and with little fuss. You don't even need to roll these guys out. Just gently shape into a flattened ball and call it a day.

Reuben's one complaint was that they were a bit "carby." This is perhaps because (dare I say it) they hardly need butter. They're still good with it, but it isn't necessary (sacrilegious!). Of course their carbiness didn't stop him from eating over half the batch.

Note: It takes about 2 large oranges to get enough juice for this recipe. If you like, you can buy one organic orange for the zest and one conventional orange and juice both. Just make sure to zest the organic orange before squeezing it. It's a lot harder to zest citrus once it's been squeezed (I speak from experience). 


Orange Scones
recipe from Pastry Affair | makes approximately 10-12 scones
printable page
Ingredients:
FOR THE SCONES
  • 1 3/4 cup organic all-purpose flour
  • 4 teaspoons baking powder
  • 1/4 cup cane sugar
  • zest of 1 orange (preferably organic)
  • (generous) pinch of salt
  • 5 tablespoons butter, cold, cut into small pieces
  • 1/2 cup freshly squeezed orange juice (from about 2 large oranges)
  • 1/4 cup organic sour cream
  • 1 egg
  • 1 tablespoon milk

FOR THE GLAZE
  • 1/2 cup powdered cane sugar
  • 1-2 tablespoons orange juice

Directions:

For the Scones:
  1. Preheat oven to 400 degrees F (205 degrees C). Line a heavy baking sheet with parchment paper.
  1. In a large bowl, whisk together the dry ingredients: flour, baking powder, sugar, orange zest and salt. Scatter the butter over the flour mixture and use a pastry blender (or a fork, two knives or your fingertips) to cut in the butter until it's the size of peas. Add the sour cream and orange juice and mix JUST until combined, adding more orange juice if it seems a bit dry.
  1. Grab chunks of dough, roll them into a loose ball and flatten them onto the parchment lined baking sheet. In a small bowl whisk together the egg and milk and brush this onto the tops of the scones. Allow the scones to rest for 10 minutes.
  1. Bake in preheated oven for 12-14 minutes, or until the tops begin to turn a lovely golden brown. Cool on a wire rack.
For the Glaze:
  1. In a small bowl, whisk together the powdered sugar and orange juice until smooth. Add more orange juice if the glaze is too stiff. 
  1. Once the scones are completely cool, drizzle with the glaze. Store any leftovers in an airtight container.


Orange Scones - Buttered Side Up

Meyer Lemon Curd


Lemon Curd | Buttered Side Up
For some reason I am finding it particularly hard to write this post. Perhaps because I feel a disconnect with this recipe since I made it almost two months ago. That’s right – I made this delicious lemon curd for a bridal shower that I attended one day before I went into labor.


Meyer Lemons
Ah yes. Now I remember how delicious it was spread on fresh scones; how surprisingly easy it was to prepare; and how pretty it looked in a Weck jelly jar.


Meyer Lemons
If you have never made lemon curd before, let me urge you to give it a try. It’s hardly more bother than making a pudding. And it’s amazingly fresh and rich at the same time. If you’re a lemon fan, this is definitely something not to be missed.


Meyer Lemon Curd | from Williams-Sanoma | makes 2 cups | PRINTABLE PAGE
Ingredients:
  • 8 egg yolks
  • 1 cup sugar (natural sugar can be used, but the curd won’t be as pretty)
  • 1/2 cup Meyer lemon juice
  • grated zest of 2 Meyer lemons
  • 12 tablespoons butter, cut into pieces
Directions:
1) Have ready a heat proof bowl and a fine-mesh sieve. In another heat-proof bowl (or the top of a double boiler) combine the egg yolks and sugar and whisk vigorously for 1 minute. Add the lemon juice and zest and whisk for another minute.
2) Place the bowl over a pan of simmering water, making sure that the bottom of the bowl doesn’t touch the water. Cook, stirring constantly, until thickened, about 10-15 minutes. Add the butter one piece at a time, whisking until completely melted before adding another.
3) Remove from heat and strain the curd through the sieve into the heat-proof bowl, pressing the curd through the sieve. Place plastic wrap directly onto the surface of the curd and refrigerate for at least 2 hours and up to 3 days. Now you’re ready to serve your lemon curd on fresh scones (with butter and Devonshire cream), or however you wish!


Lemon Curd | Buttered Side Up


Note: some links are affiliate. All opinions are my own.

Phone Friday: Over the Holidays...


It's been a little while since I've done a Phone Friday Post, so I thought it was high time I updated y'all on what's been going on in my life, food and otherwise...


Egg on Rice
My go-to lunch for the past few months has been (what I call) Egg on Rice. I really like it with butter, kimchi, ginger, frozen peas, a fried egg and some sort of meat. So so good and satisfying.


Homemade Sushi
We made sushi! My sister decided to host a sushi making party. I must admit that I was a bit skeptical about it working out, but it was delicious.


I had the best tasting coffee shop breve ever (and it came with pretty art). You see, I usually don't like coffee from a shop as much as homemade, but this breve from a local establishment was very good and didn't taste fakey.


My little sister bought me a set of phone lenses for Christmas. It's been really fun playing around with them, especially the macro lens.


CHOCOLATE HAUL! I was hoping that I would get chocolate for Christmas, and my family did not disappoint.


And I leave with my sad attempt at hand lettering. That should be a goal of mine this year: get better at hand lettering (or painting in general).

Inspiration from Upper Hand Lettering and quote from Pinterest.


I hope you all had a lovely Christmas and that 2015 will be an awesome year!


xoxo
Erica